Title Slide:
- Title: ARAD.ID: Futuristic Digital Identity Management
- Subtitle: Managing Your Digital Footprint with Style
- Image: Sleek app screen design showcasing futuristic elements
Slide 1: Introduction
- Introduce ARAD.ID and its purpose: Managing digital identity, tracking digital trail, and accessing cybersecurity features.
- Highlight the importance of controlling digital footprints in today’s interconnected world.
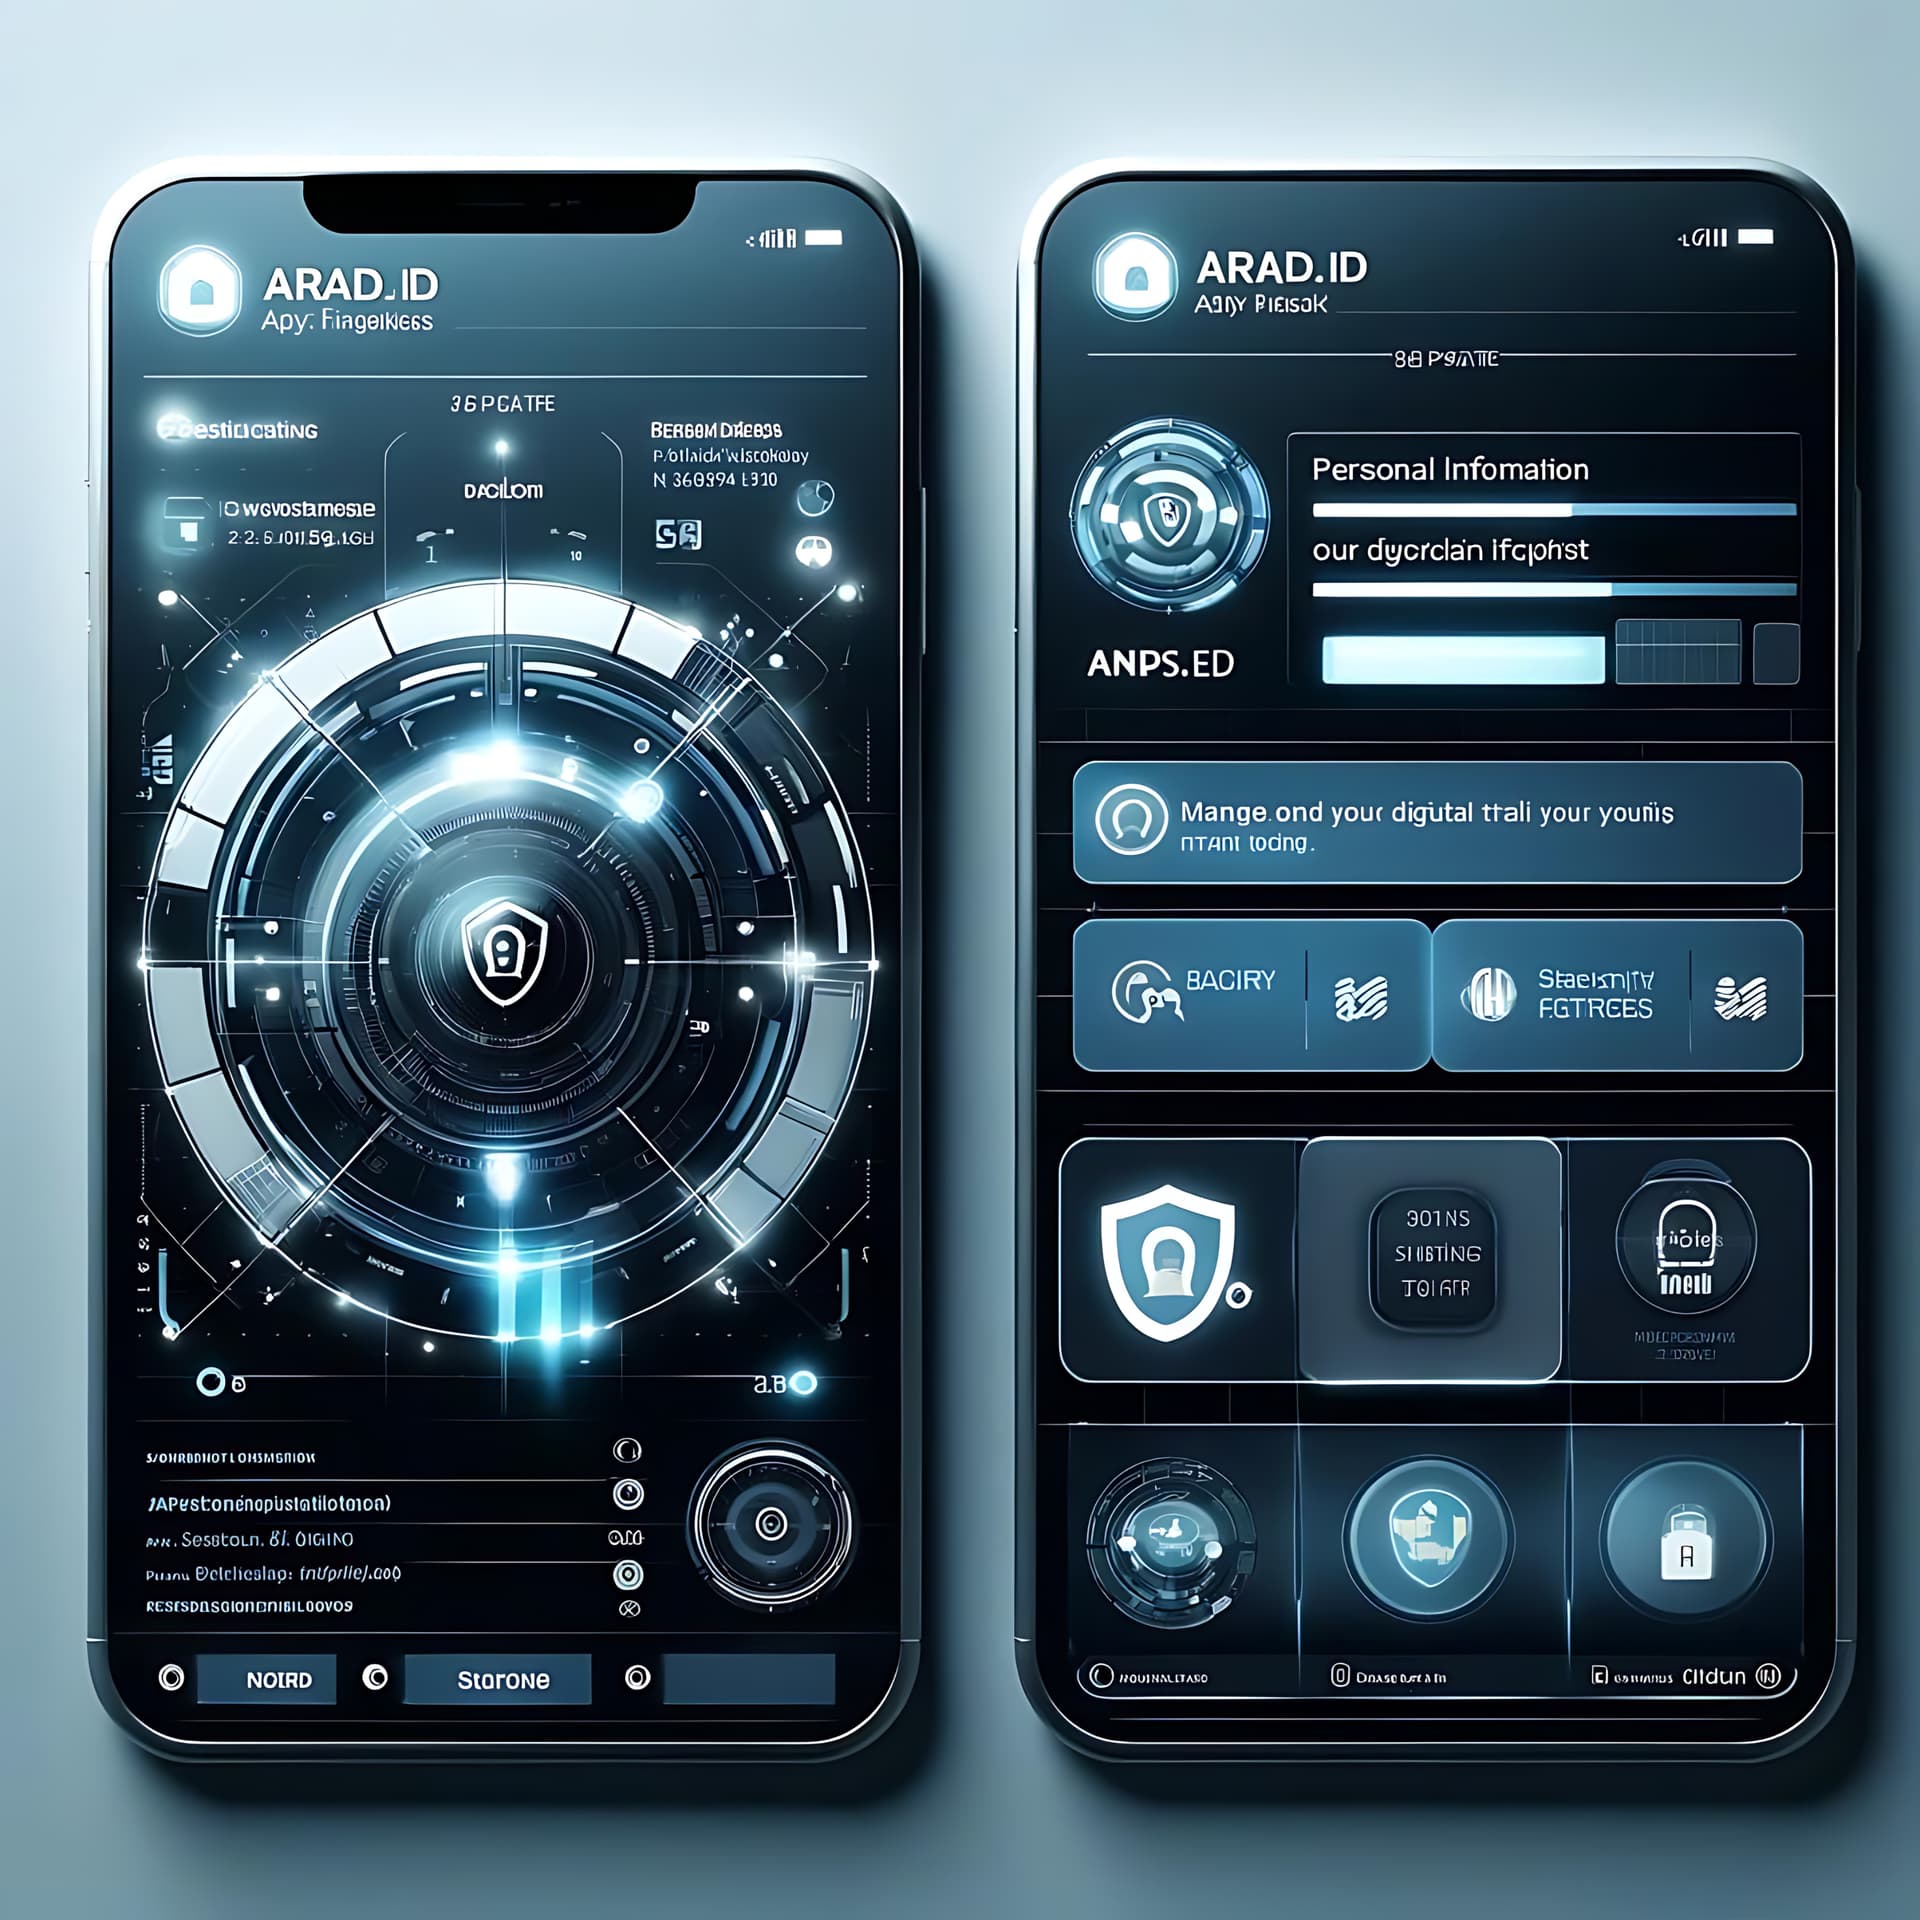
Slide 2: User Interface Overview
- Display the sleek and futuristic design of the app screen.
- Mention the minimalist approach for better user experience.
- Emphasize intuitive navigation elements for easy usage.
Slide 3: Digital Identity Management
- Explain how users can manage their digital identities within the app.
- Showcase features like updating personal information, managing connected accounts, and controlling privacy settings.
Slide 4: Tracking Digital Trail
- Demonstrate how users can track their digital activities and interactions.
- Highlight features such as viewing browsing history, monitoring online transactions, and tracking social media interactions.
Slide 5: Cybersecurity Features
- Present the cybersecurity measures integrated into ARAD.ID.
- Showcase features like real-time threat detection, password management, and secure authentication methods.
Slide 6: Benefits of ARAD.ID
- Summarize the benefits of using ARAD.ID for digital footprint management.
- Highlight advantages such as enhanced privacy, improved security, and simplified identity management.
Slide 7: Future Enhancements
- Discuss potential future enhancements and updates for ARAD.ID.
- Mention features like AI-driven insights, biometric authentication, and expanded integrations with other platforms.
Slide 8: Conclusion
- Conclude by emphasizing the importance of managing digital footprints.
- Encourage users to embrace ARAD.ID for a more secure and controlled online presence.
Slide 9: Q&A
- Open the floor for questions from the audience.
Remember to keep the slides visually appealing with relevant imagery and minimal text. Use bullet points and visuals to convey information effectively.
1 Like
1. Overview
Objective: Develop a secure, privacy-preserving digital ID system using ZKPs to enable users to authenticate without revealing personal information.
2. Key Components
- Digital Identity Creation: Using cryptographic key pairs.
- Zero-Knowledge Proofs (ZKPs): Implementing ZKPs for private attribute verification.
- Decentralized Storage: Utilizing blockchain for storing identity proofs and public keys.
3. Open-Source Tools and Technologies
- Cryptographic Libraries:
- Libsnark: A C++ library for zk-SNARKs.
- Circom and SnarkJS: Tools for creating zk-SNARK circuits and verifying them.
- Bulletproofs: For non-interactive range proofs and confidential transactions.
- Blockchain Platforms:
- Ethereum: For decentralized identity storage and smart contracts.
- Hyperledger Indy: For identity management and decentralized verifiable credentials.
- Identity Verification:
- Hyperledger Aries: For secure and interoperable identity solutions.
- Sovrin: An open-source, decentralized identity network.
4. Detailed Method
Step 1: Identity Creation and Registration
-
Generate Key Pairs:
- Use a cryptographic library like OpenSSL or a language-specific library (e.g., Python’s
cryptography library) to generate a public-private key pair.
from cryptography.hazmat.primitives.asymmetric import rsa
from cryptography.hazmat.primitives import serialization

private_key = rsa.generate_private_key(
    public_exponent=65537,
    key_size=2048,
)
public_key = private_key.public_key()

pem = private_key.private_bytes(
    encoding=serialization.Encoding.PEM,
    format=serialization.PrivateFormat.TraditionalOpenSSL,
    encryption_algorithm=serialization.NoEncryption()
)
with open('private_key.pem', 'wb') as f:
    f.write(pem)

pem = public_key.public_bytes(
    encoding=serialization.Encoding.PEM,
    format=serialization.PublicFormat.SubjectPublicKeyInfo
)
with open('public_key.pem', 'wb') as f:
    f.write(pem)
-
Identity Verification:
- Submit documents to an Identity Provider (IDP) for verification.
- Use Hyperledger Aries to manage this process and generate verifiable credentials.
- Store the public key and verified credentials on Hyperledger Indy or Ethereum.
Step 2: Implementing Zero-Knowledge Proofs
-
Create ZKP Circuits:
- Use Circom to create circuits for your ZKPs.
- Write custom circuits for verifying age, residency, etc.
// Example of a Circom circuit for age verification
template AgeVerification() {
    signal input age;
    signal input min_age;
    signal output valid;

    valid <== age >= min_age;
}
-
Compile and Generate Proofs:
- Compile the circuit using
circom and generate proof and verification keys.
circom age_verification.circom --r1cs --wasm --sym
snarkjs setup
snarkjs generatewitness
snarkjs prove
snarkjs verify
-
Verify Proofs:
- Use SnarkJS to verify proofs within your application.
const snarkjs = require('snarkjs');

const vkey = JSON.parse(fs.readFileSync("verification_key.json"));
const proof = JSON.parse(fs.readFileSync("proof.json"));

const res = await snarkjs.groth16.verify(vkey, publicSignals, proof);
if (res === true) {
    console.log("Proof is valid");
} else {
    console.log("Proof is invalid");
}
Step 3: Authentication Process
- Request Proof:
- Service requests proof of specific attributes from the user.
- Generate Proof:
- User generates a ZKP using their private key.
- Submit Proof:
- User submits the proof to the service provider.
- Verify Proof:
- Service provider verifies the ZKP using the user’s public key stored on the blockchain.
Step 4: User Interface
- Develop a user-friendly interface for managing digital IDs and generating proofs.
- Use frameworks like React or Vue.js for the frontend, ensuring seamless integration with backend ZKP generation and verification processes.
Step 5: Security and Privacy
- Data Encryption: Ensure all data stored and transmitted is encrypted.
- Key Management: Implement secure storage for private keys using hardware security modules (HSMs) or secure enclaves.
- Regular Audits: Conduct periodic security audits to ensure the system’s integrity.
Conclusion
By leveraging open-source tools like Libsnark, Circom, SnarkJS, Hyperledger Indy, and Hyperledger Aries, you can build a robust digital ID system using ZKPs. This system enhances privacy, security, and user control over personal data, providing a modern alternative to traditional identity verification methods.